
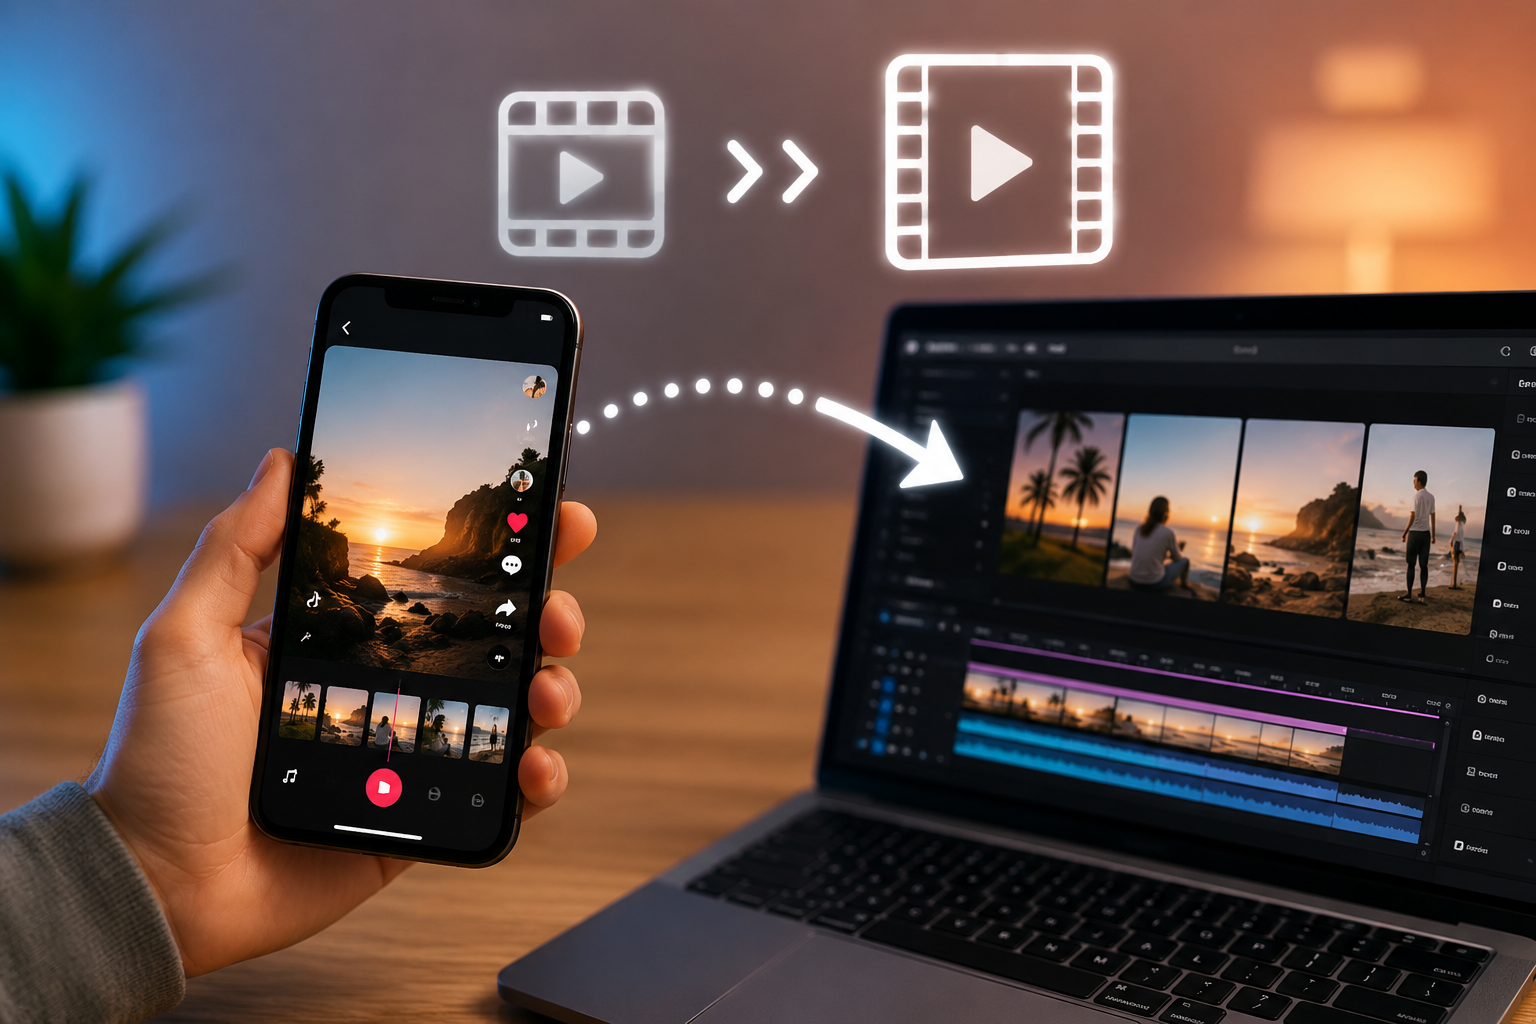
How to Turn a Downloaded TikTok Slideshow Into a Video
A step-by-step guide to converting downloaded TikTok slideshow images into a finished MP4 video — timing, transitions, music, and export settings included.
You downloaded a TikTok slideshow, expecting a video file, and got a folder of separate images instead. Now you're trying to figure out how to turn those photos into something you can actually play, edit, or repost as a video — and most guides either skip the technical details or make the process sound more complicated than it is.
This guide walks through exactly how to convert a downloaded TikTok slideshow into a finished MP4 video: importing the images, setting timing, adding transitions and music, choosing the right export settings, and fixing the problems that come up most often along the way.
What Is a Downloaded TikTok Slideshow?
A TikTok slideshow — sometimes called a photo post or carousel — isn't a video in the traditional sense. It's a series of individual images that TikTok's app displays one after another, often with a synced soundtrack, giving the impression of a video even though nothing was ever rendered as one.
When you download this kind of post using a tool built for slideshows, what you get back reflects that structure: a set of separate image files (usually JPEG or WebP), numbered in the order they appeared, sometimes bundled with an audio file if the post included one. That's different from downloading a regular TikTok video, which comes back as a single MP4 file ready to play.
This distinction is the root of most of the confusion people run into. If your download tool handed you a folder of numbered images instead of one video file, that's expected behavior — not a broken download.
Can You Turn a Downloaded TikTok Slideshow Into a Video?
Yes. The images from a TikTok slideshow can be combined into a standard MP4 video using any basic video editing tool. Since each image is just a static frame, converting them into a video is really a matter of telling an editor how long to show each one, what to place between them, and what audio (if any) to layer underneath.
This isn't TikTok-specific software — the same process works with any set of still images, whether they came from a slideshow, a camera roll, or a design tool. The TikTok-specific part is really just getting the output to look and feel like it belongs on the platform, which comes down to aspect ratio, resolution, and pacing (covered further down).
How to Turn a Downloaded TikTok Slideshow Into a Video
Here's the full process from start to finish.
Step 1: Check the Downloaded Files
Open the folder where your slideshow images saved. Confirm you have all the expected images — count them against what you saw when swiping through the original post on TikTok — and check whether a separate audio file downloaded alongside them. Some slideshow tools bundle everything into a ZIP; others let you download images individually. Either way, extract everything into one folder before moving on, so your editor can find all the files in one place.
Step 2: Arrange the Slideshow Images
Most slideshow downloads are numbered in the order they appeared (1.jpg, 2.jpg, and so on), which usually means you don't need to reorder anything manually. Still, it's worth a quick visual check — open the images in a file browser's preview or gallery view and confirm the sequence matches what you remember from the original post. If any images are out of order, rename them now, before importing, since reordering inside a video editor's timeline is more tedious than fixing filenames.
Step 3: Import the Images Into a Video Editor
You don't need professional software for this. Any of the following will work:
- CapCut (mobile and desktop, free) — the most common choice for this exact task, since it's built with TikTok-style content in mind
- iMovie (Mac/iOS, free) — solid for a simpler, no-frills slideshow
- Canva (web, free tier available) — good if you also want templates and text overlays
- DaVinci Resolve (desktop, free) — more capable, better suited if you want finer control over timing and color
Import all your images into a new project timeline in the order you confirmed in Step 2. Most editors let you drag-select the whole folder and drop it directly onto the timeline, which saves time versus adding images one by one.
Step 4: Set the Duration of Each Image
By default, most editors give each image a short, uniform duration — often too fast for a slideshow that's meant to be looked at rather than just glanced through. Select each clip on the timeline and adjust its length. A good starting point is somewhere between 1.5 and 3 seconds per image, though the right number depends on what the slideshow is for (more on this in the next section).
Step 5: Add Transitions
A simple crossfade or slide transition between images makes the sequence feel intentional rather than like a slideshow stitched together at the last minute. Most editors offer a transitions panel — drag the one you want onto the gap between two clips. Keep transition duration short (0.2–0.4 seconds is typical) so it doesn't eat into your image display time.
Avoid stacking multiple flashy transition styles throughout one video. Picking one clean transition and using it consistently reads as more polished than mixing several.
Step 6: Add Music or Audio
If your slideshow download included a separate audio file, drag it onto the timeline's audio track and align its start point with your first image. If the total video runs longer than the audio, either trim the video or loop the track — most editors have a built-in loop or extend option.
If you don't have the original audio, or want to swap it, use a track from your editor's built-in library (CapCut and Canva both include royalty-free options) rather than pulling a copyrighted song from elsewhere, unless you have rights to use it.
Step 7: Choose the Correct Video Format
Set your project (or export settings, depending on the editor) to:
- Format: MP4
- Aspect ratio: 9:16 (vertical)
- Resolution: 1080×1920
Most mobile editors default to these settings automatically when you select a "TikTok" or "Reels" preset. On desktop software, you may need to set the canvas size manually before importing your images.
Step 8: Export the Finished Video
Export at the highest available quality setting your editor offers — usually labeled "High" or specified in Mbps. Once exported, play the file back in full before doing anything else with it; catching a timing or sync issue now is much easier than after you've already uploaded it somewhere.
How to Turn Slideshow Images Into an MP4 Video
If you're only interested in the bare mechanics — no transitions, no music, just images turned into a playable video — the process is shorter:
- Import all images into a video editor's timeline in order.
- Set a fixed duration per image (2 seconds is a safe default).
- Export as MP4 at 1080×1920.
That's genuinely all it takes for a functional result. Everything else in this guide — transitions, timing variation, audio — is about making the output feel more like an actual TikTok video rather than a literal slideshow of still frames.
How Long Should Each Image Stay on Screen?
There's no single correct duration — it depends on what you want the finished video to feel like.
Fast slideshow (0.8–1.2 seconds per image) Works well for high-energy content — outfit changes, before/after reveals, meme formats, or anything meant to move quickly. At this speed, viewers register the sequence more than any individual frame.
Normal slideshow (1.5–2.5 seconds per image) The most common pacing for general content — travel photos, product shots, day-in-the-life posts. Long enough for viewers to actually look at each image, short enough to keep momentum.
Storytelling slideshow (3–5 seconds per image) Better for content where each image needs to be read or understood individually — infographics, step-by-step tutorials, or slides with text overlays. Slower pacing gives viewers time to actually absorb what's on screen instead of skimming past it.
If you're unsure, start at 2 seconds per image, watch the full playback, and adjust up or down based on whether it feels rushed or sluggish.
How to Make the Converted Slideshow Look Like a Real TikTok Video
A handful of details separate a slideshow that plays like a genuine TikTok video from one that clearly reads as "photos stitched together":
- Timing — vary duration slightly between images rather than using one identical length throughout; a little variation feels more natural
- Transitions — one consistent, subtle transition style throughout, not a different effect on every cut
- Aspect ratio — 9:16 vertical, matching what the platform actually displays, with no letterboxing
- Resolution — 1080×1920 minimum; anything lower will look visibly soft on modern phone screens
- Audio — synced to start right as the first image appears, not delayed by even half a second
- Captions — if the original slideshow had on-image text, make sure it's still fully legible at the export resolution and not obscured by UI overlays in your editor's preview
- Visual consistency — if your source images vary wildly in brightness or color tone, a quick auto-color-correct pass in your editor smooths that out and makes the sequence feel more cohesive
What Video Format Should You Use for TikTok?
For a video intended to be re-uploaded or shared as TikTok-style content, stick to:
- File type: MP4 (H.264 codec) — the most widely supported format across editors, phones, and platforms
- Orientation: Vertical, 9:16 aspect ratio
- Resolution: 1080×1920 pixels — TikTok's standard vertical resolution
- File size: Keep it reasonable for the length of your clip; a bloated file with no meaningful quality gain just makes uploading slower
There's no need to chase resolutions higher than 1080×1920 for this kind of content — TikTok compresses uploads regardless, so exporting in 4K from slideshow images (which are rarely that high-resolution to begin with) doesn't add anything.
What If Your Downloaded TikTok Slideshow Contains Only Images?
This is the normal case, not an error. A slideshow post is images by definition — unless the original creator added a separate soundtrack, there's no audio component to expect. If you want music in your finished video, add it yourself in your editor using either the audio that came bundled with your download (if there was one) or a track from your editor's audio library.
If you were expecting a video file and got only images, double-check that the original post was actually a slideshow/carousel and not a standard video — screen recordings of animated content sometimes get mistaken for slideshows, and the two require different download approaches.
Common Problems When Converting a TikTok Slideshow
Images appearing in the wrong order Check your file numbering before importing. If images were downloaded individually rather than as a numbered ZIP, they may not sort correctly by default — rename them with a consistent numeric prefix (01, 02, 03...) before adding them to your timeline.
Different image sizes TikTok slideshows occasionally mix images with slightly different dimensions or aspect ratios. Most editors will auto-crop or letterbox mismatched images to fit your project canvas — check each image individually in the preview and adjust its scale/crop manually if the auto-fit crops out something important.
Black bars These usually appear when an image's aspect ratio doesn't match your project's 9:16 canvas. Scale the image up slightly (a small zoom, not a full crop) so it fills the frame, or apply a blurred background fill if your editor supports it — a common trick for square or landscape images inside a vertical video.
Audio not syncing Confirm the audio track's start point lines up exactly with your first image, and check that no earlier clip on the timeline is shifting things out of alignment. If the mismatch grows worse toward the end, your total image duration and audio length likely don't match — trim or extend one to fit the other.
Video looking too fast Increase per-image duration, particularly if you're using the fast-pacing range (under 1.5 seconds) with content that has a lot of visual detail — viewers need more time to register what's on screen.
Video looking too slow Trim duration down, and check whether your transitions are eating up more time than intended — long transitions between short image durations can make the whole thing feel sluggish even if the individual image times are reasonable.
Export problems If export fails or the output file won't play, try a shorter test export first (just a few images) to isolate whether the issue is with a specific image, a specific transition, or the full-length project. Corrupted or unusually formatted source images are a common cause.
Can You Add Music to a Converted TikTok Slideshow?
Yes — most editors make this straightforward: drag an audio file onto the timeline's audio track and align it with your video. If you're using the original audio that was downloaded alongside your slideshow images, this is usually as simple as dropping it in at the start.
If you want to use a different song, be mindful of copyright. Using your editor's built-in royalty-free audio library avoids any issue entirely. If you want to use a specific commercial song, check whether you actually have the rights to use it for your intended purpose — background music for a private, personal project is a different situation from music in something you plan to publish or monetize publicly.
How to Download a TikTok Slideshow Before Converting It
If you haven't downloaded the slideshow yet, or need to grab another one for a future project, a TikTok slideshow downloader pulls each image at its original resolution rather than relying on a screenshot, which tends to look noticeably softer once you've built it back into a video. Paste the public post's link, and the tool resolves every slide individually — along with the audio track, when one is attached to the post — so you're starting the conversion process with the best source material available.
Tips for Getting Better Results From a TikTok Slideshow
- Download the original, highest-quality images available — starting from a compressed or low-res source limits how good your final video can look, no matter how carefully you edit it
- Keep image dimensions consistent where possible — mismatched aspect ratios are the single biggest cause of awkward black bars or distorted crops
- Use sensible image timing based on how much detail is actually in each image, not a single fixed number applied blindly
- Avoid excessive transitions — one clean, consistent style reads as more professional than five different effects
- Choose appropriate audio — match the mood and pacing of the music to how fast your images are cutting
- Preview before exporting — watch the full sequence at least once end-to-end; issues that are obvious in playback are easy to miss scrubbing through a timeline
- Check the final video on mobile — a video that looks fine on a large desktop monitor can look different on the phone screen where it'll actually be watched
Frequently Asked Questions
Can a TikTok slideshow be converted into a video? Yes. Since a slideshow is just a set of still images, any basic video editor can combine them into a standard MP4 video by displaying each image for a set duration and exporting the result.
How do I turn TikTok slideshow photos into a video? Import the images into a video editor in order, set a display duration for each one, add transitions and audio if you want them, and export as MP4 at 1080×1920.
How do I convert slideshow images to MP4? Add the images to a video editing timeline, set the timing for each, and export the project as an MP4 file — most free editors (CapCut, iMovie, Canva) support this directly.
Can I make a video from downloaded TikTok photos? Yes — this is exactly what converting a slideshow into a video means. The photos become individual clips on a timeline that play in sequence.
What format should I export a TikTok slideshow in? MP4 with the H.264 codec, at 1080×1920 resolution, in a 9:16 vertical aspect ratio.
What aspect ratio is best for TikTok? 9:16 vertical. This matches how TikTok displays content full-screen on mobile devices.
How long should each slideshow image last? Typically between 1.5 and 3 seconds, depending on the content — faster for high-energy content, slower if each image has text or detail that needs time to read.
Can I add music to a converted slideshow? Yes. Drag an audio file onto your editor's audio track and align it with the start of your video. Use royalty-free music unless you have rights to a specific track.
Why are my slideshow images different sizes? This can happen if the original creator uploaded images with inconsistent dimensions. Most editors will auto-fit them to your project canvas, though you may need to adjust the scale or crop on individual images manually.
Why does my converted slideshow have black bars? Black bars appear when an image's dimensions don't fill your project's aspect ratio. Scale the image slightly to fill the frame, or use a blurred background fill for images that don't naturally fit 9:16.
Can I edit a downloaded TikTok slideshow? Yes — once the images are on your device, you can crop, reorder, retouch, or otherwise edit them in any photo or video editor before or during the conversion process.
How can I improve the quality of the converted video? Start with the highest-resolution source images available, keep your project's export resolution at or above 1080×1920, and avoid excessive digital zoom on any individual image, which can introduce visible blur.
Why does my video look choppy even with 2-second image durations? This is often a transition issue rather than a timing one — very short or abrupt transitions between images can create a jarring effect. Try a slightly longer, softer crossfade instead.
Does the order of images matter after I've imported them? Yes — most editors let you drag clips to reorder them directly on the timeline, so if you notice the sequence is wrong after import, you don't need to start over; just rearrange the clips.
Can I use this same process for regular (non-TikTok) photos? Yes. Nothing about this process is TikTok-specific beyond the recommended aspect ratio and resolution — the same steps work for turning any set of images into a video.
Final Thoughts
Turning a downloaded TikTok slideshow into a video comes down to a handful of decisions: how long each image stays on screen, what connects one image to the next, whether there's music underneath, and what format you export in. None of it requires specialized software — a free mobile or desktop editor handles the whole process.
If you're starting from scratch, grabbing the original images at full resolution makes the biggest difference in how the final video turns out — TikGrabs pulls each slide directly rather than relying on a screen capture, which gives you better source material to build from before you even open your editor.
Related posts
Ready to download?
Paste a public TikTok link and save a clean MP4, MP3, story, or slideshow.
Open video downloader